Home Assistant Operating System
Home Assistant Operating System (HAOS) is an open-source platform for home automation, offering seamless integration with numerous smart devices and services. It runs on various devices, allowing you to automate tasks, monitor your home, and control devices from a single interface. This guide provides steps to flash the image, access Home Assistant via the web interface, and enable SSH access.

Steps to Follow
Download Home Assistant OS
Flash Image in eMMC
Follow this guide for flashing the image into eMMC:
Flash Image in External Device Like, SD Card / USB
Option 1: Using Balena Etcher
Download Balena Etcher: https://etcher.io
Insert the SD card or USB drive into your computer.
Select the downloaded Home Assistant OS image.
Select your target drive.
Click Flash and wait for completion.
Option 2: Using dd (Linux)
sudo dd if=<home-assistant>.img of=/dev/sdX bs=4M status=progress conv=fsync
Replace /dev/sdX with your target device (check with lsblk).
Warning
Make sure that image is flashed properly. By running below command :
sudo parted -l /dev/sdX
Boot Home Assistant OS
Danger
Kindly, Attach Ethernet to device. It is mandatory to configure Home Assistant OS to boot properly.
Insert the flashed media into Axon.
Power on the device.
Wait for the system to initialize. ( It might take 4-5 Minutes to configure )
Access Home Assistant
Once the device has booted and is connected to your local network:
Open a web browser on your computer.
http://homeassistant.local:8123or use the device’s IP address:
http://<DEVICE_IP>:8123
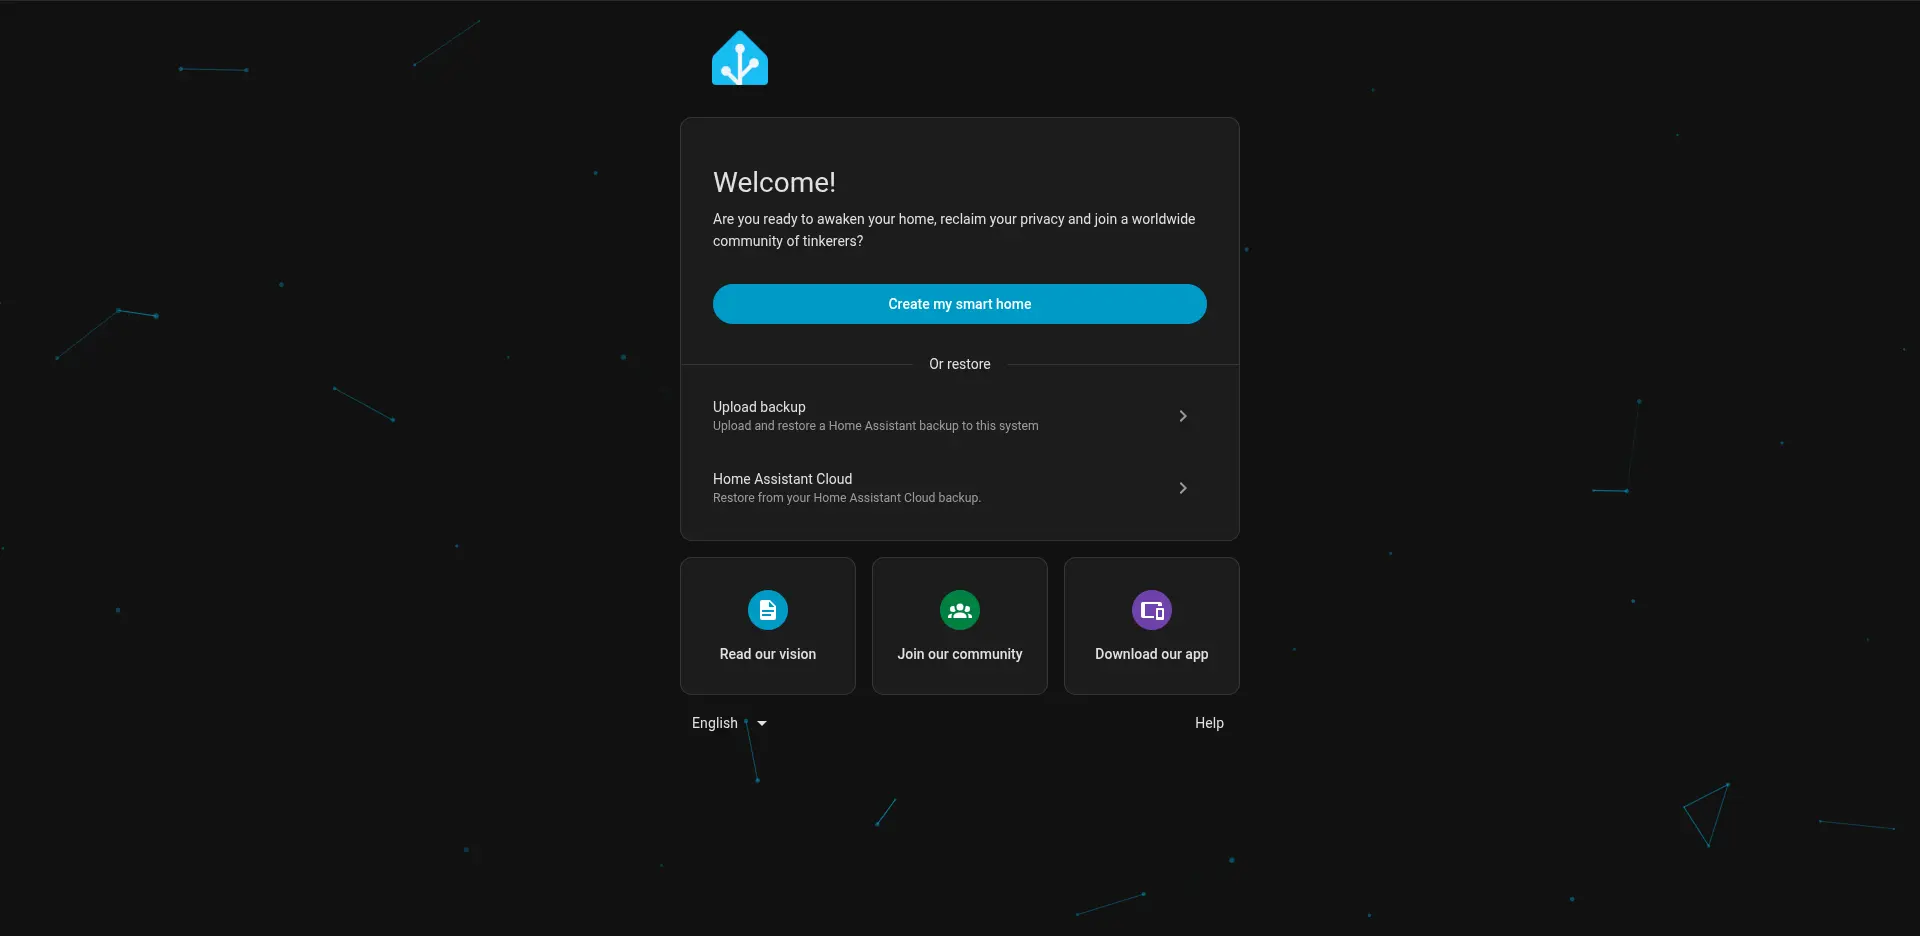
You will be greeted with the Home Assistant onboarding screen. Follow the setup wizard to create your account and configure Home Assistant. It might take 20-25 minutes to configure.
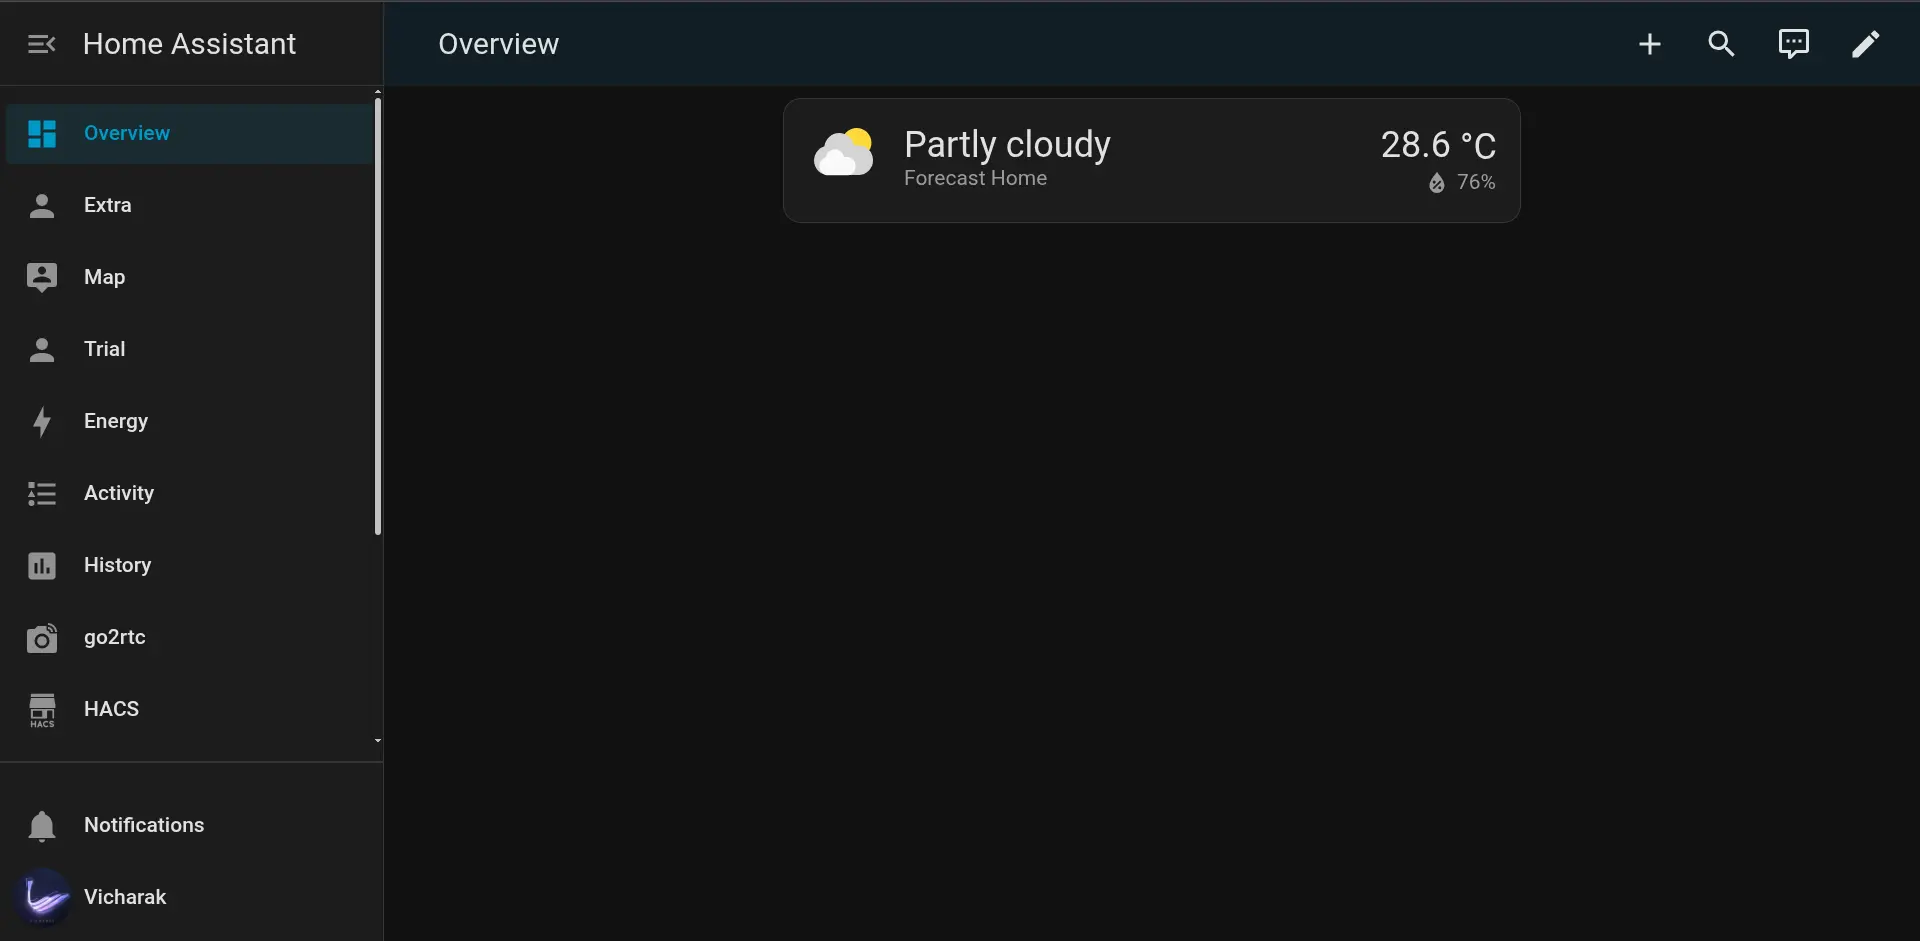
After Configuring Device setup, you will be redirected to Dashboard of the Home Assistand Operating System,
Enable SSH Access
To enable SSH access, install the SSH & Web Terminal Add-on from the Home Assistant add-on store.
Steps:
Open Home Assistant web interface at
http://homeassistant.local:8123.Navigate to Setting that can be found in leftend side bar:
Settings > Add-ons > Add-on StoreSearch for SSH & Web Terminal and install it.
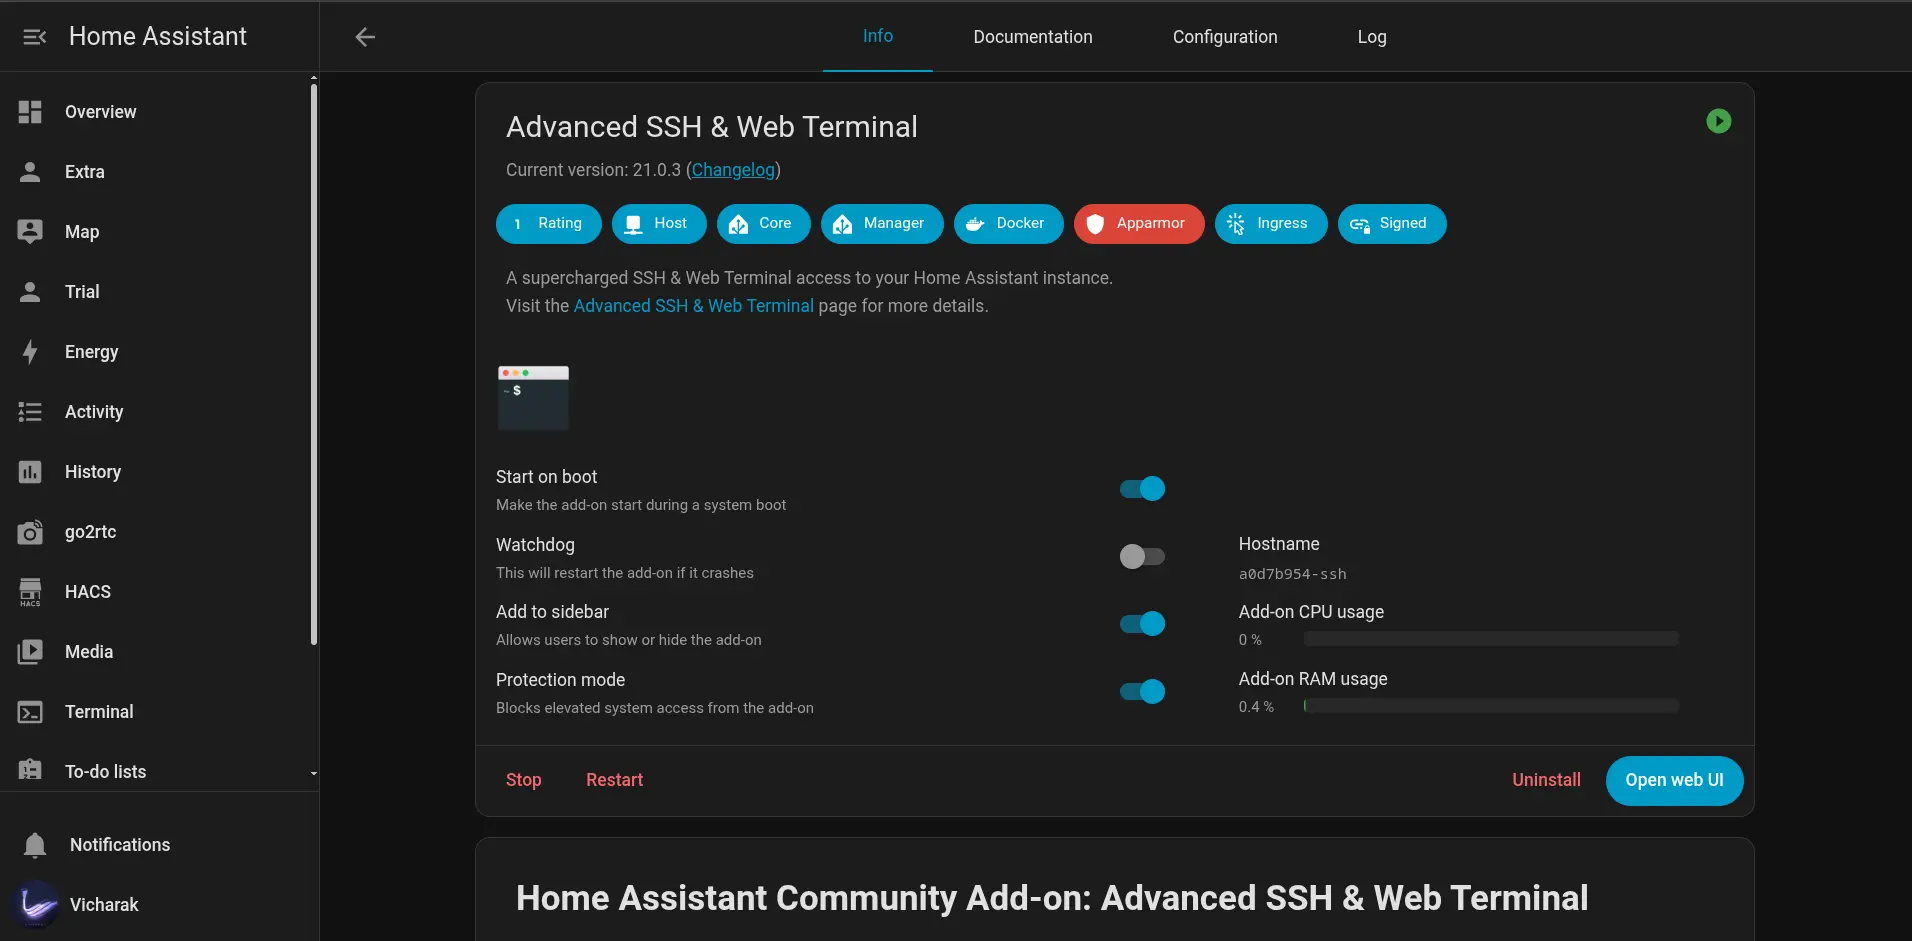
Configure the add-on:
Set username and password.
Optionally enable authorized SSH keys for secure access.
Example configuration (in YAML):
username: "homeassistant"
password: "your_password"
authorized_keys:
  - ssh-rsa AAAAB3Nz...
Start the add-on.
Access via SSH:
ssh homeassistant@<DEVICE_IP> -p 22
       ▄██▄           _   _
     ▄██████▄        | | | | ___  _ __ ___   ___
   ▄████▀▀████▄      | |_| |/ _ \| '_ ` _ \ / _ \
 ▄█████    █████▄    |  _  | (_) | | | | | |  __/
▄██████▄  ▄██████▄   |_| |_|\___/|_| |_| |_|\___|          _
████████  ██▀  ▀██      / \   ___ ___(_)___| |_ __ _ _ __ | |_
███▀▀███  ██   ▄██     / _ \ / __/ __| / __| __/ _` | '_ \| __|
██    ██  ▀ ▄█████    / ___ \\__ \__ \ \__ \ || (_| | | | | |_
███▄▄ ▀█  ▄███████   /_/   \_\___/___/_|___/\__\__,_|_| |_|\__|
▀█████▄   ███████▀

Welcome to the Home Assistant command line interface.

Home Assistant Supervisor is running!
System information:
  IPv4 addresses for wlan0: XXX.XX.X.XXX/24
  IPv4 addresses for end1:  XXX.XX.X.XXX/24

  OS Version:               Home Assistant OS 16.3.dev0
  Home Assistant Core:      2025.10.0

  Home Assistant URL:       http://homeassistant.local:8123
  Observer URL:             http://homeassistant.local:4357

System is ready! Use browser or app to configure.
From here, you can explore integrations, automations, and extend Home Assistant with add-ons.