Retro Pi Installation and Setup
RetroPie is a software package that turns your Linux system into a retro gaming console. It’s built on top of Ubuntu and uses EmulationStation as the graphical frontend and RetroArch as the core emulator system. It allows you to play classic games from consoles like: NES, SNES (Nintendo systems) Sega Genesis / Mega Drive Atari etc.
Pre-requisites
Ubuntu 24.04 LTS (eMMC / RAW Image (SD Card / NVMe))
Overview
This guide explains how to:
Install RetroPi in Linux
Add and configure a new controller in RetroPie
Add games (ROMs) for supported systems
Copy files into the correct RetroPie directories
RetroPie works with EmulationStation as the frontend and supports multiple emulators.
Setup
Step 1: Update System Packages
Open a terminal and run:
sudo apt update
Step 2: Install Required Dependencies
RetroPie needs several packages to build and run:
sudo apt update
sudo apt install -y git dialog unzip xmlstarlet
sudo apt install libwayland-egl1=1.22.0-2.1build1
sudo apt install libwayland-cursor0=1.22.0-2.1build1
sudo apt install libwayland-server0=1.22.0-2.1build1
sudo apt install libwayland-client0=1.22.0-2.1build1
sudo apt install libxcb1=1.15-1ubuntu2
sudo apt install libwayland-dev
sudo apt install libxcb1-dev
Step 3: Clone the RetroPie Setup Script
git clone --depth=1 https://github.com/RetroPie/RetroPie-Setup.git
cd RetroPie-Setup
Step 4: Run the Setup Script
Launch the setup tool:
sudo ./retropie_setup.sh
Step 5: Run emulator in terminal
emulationstation
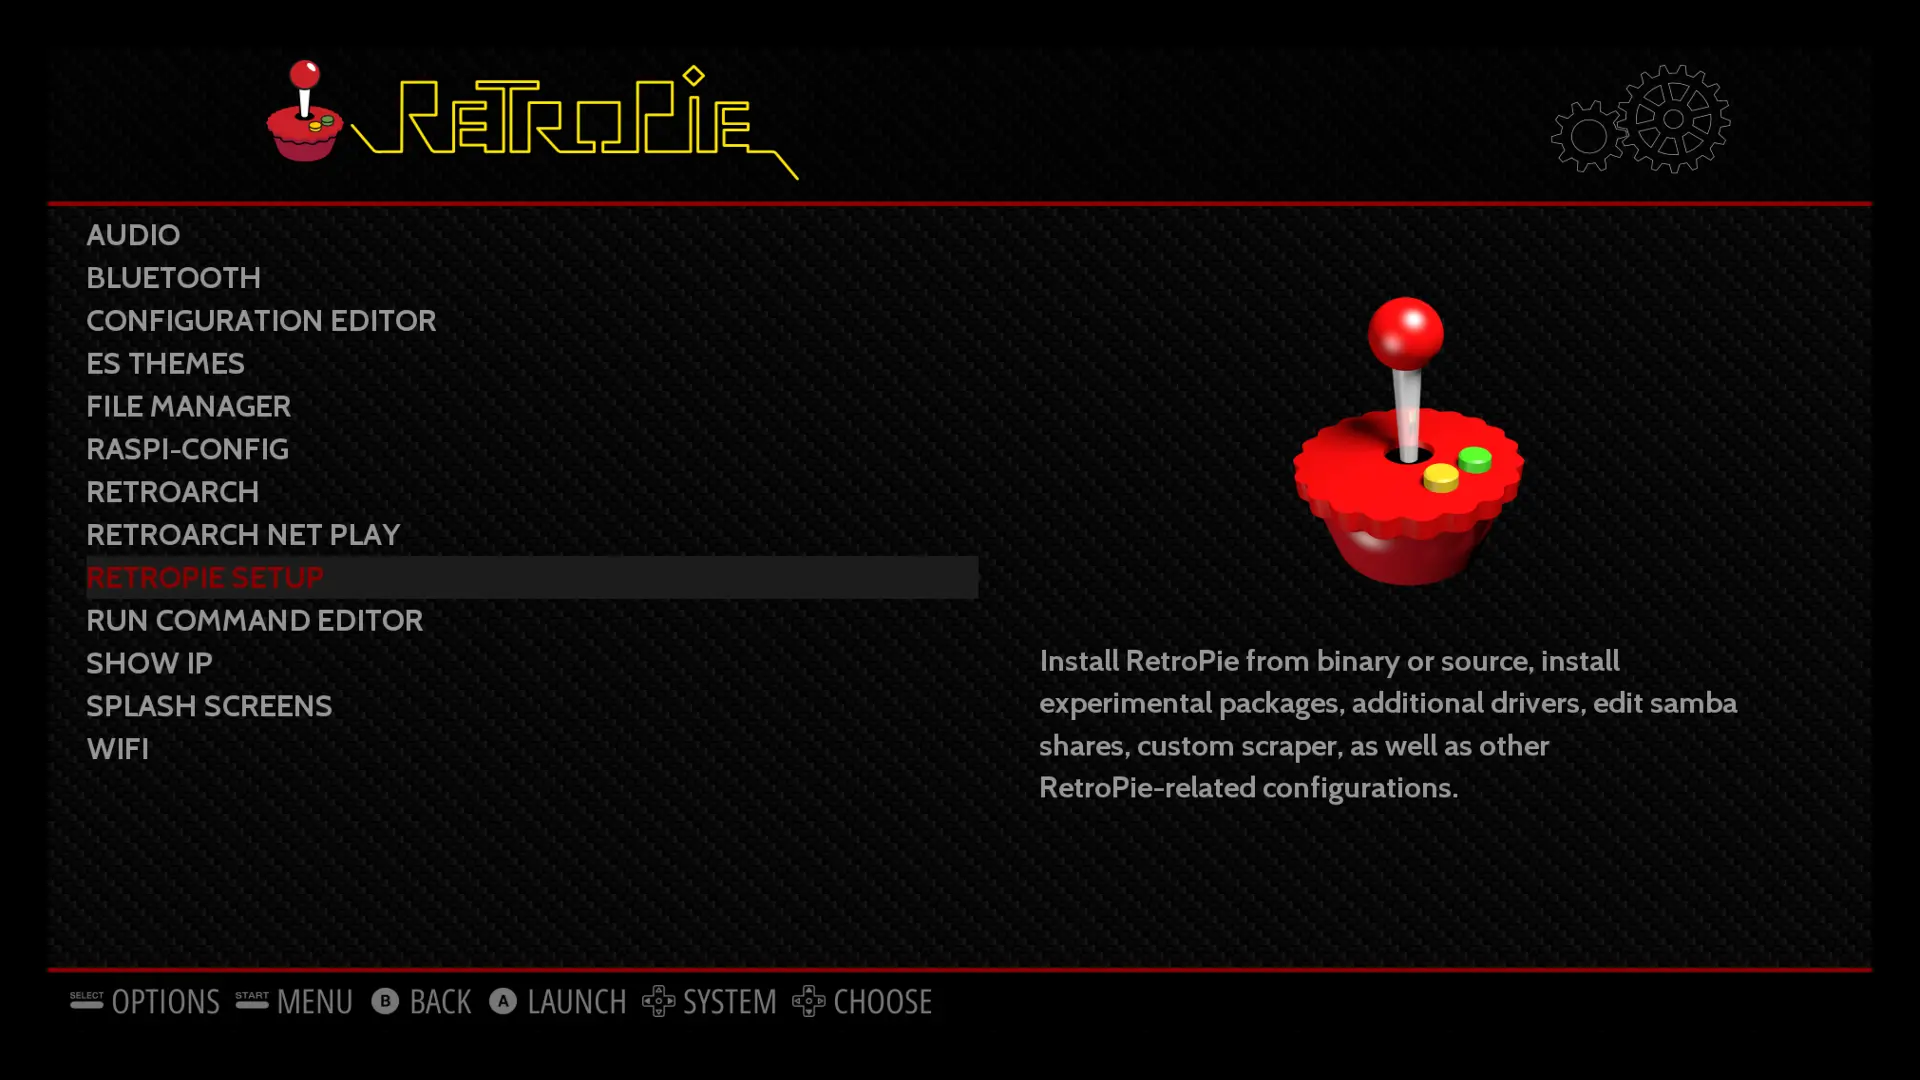
The menu will appear with several options.
Adding a New Controller Key Setting
Method 1: Using EmulationStation
Start RetroPie and wait until you reach the EmulationStation main screen.
If no keyboard/controller is detected, RetroPie will prompt:
No gamepad detected. Hold a button on your device to configure it.Hold any button on the keyboard/controller until the setup wizard starts.
Follow the prompts to map:
D-Pad directions
Start, Select
A, B, X, Y buttons
L1, R1, L2, R2
Hotkey (usually Select)
RetroPie Controller Input Mapping
The following table provides a complete mapping for all RetroPie controller inputs for keyboard:
RetroPie Input |
Keyboard Key |
Description |
|---|---|---|
Up |
W |
D-pad up |
Down |
S |
D-pad down |
Left |
A |
D-pad left |
Right |
D |
D-pad right |
Start |
Enter |
Start / pause |
Select |
Right Shift |
Select button |
A |
J |
Primary action |
B |
K |
Secondary action |
X |
U |
Extra action |
Y |
I |
Extra action |
Left Shoulder (L1) |
Q |
Shoulder button |
Right Shoulder (R1) |
E |
Shoulder button |
Left Trigger (L2) |
Z |
Trigger button |
Right Trigger (R2) |
C |
Trigger button |
Left Thumb (L3) |
1 |
Press-in left analog stick |
Right Thumb (R3) |
2 |
Press-in right analog stick |
Left Analog Up |
T |
Analog stick up |
Left Analog Down |
G |
Analog stick down |
Left Analog Left |
F |
Analog stick left |
Left Analog Right |
H |
Analog stick right |
Right Analog Up |
Up Arrow |
Right analog up |
Right Analog Down |
Down Arrow |
Right analog down |
Right Analog Left |
Left Arrow |
Right analog left |
Right Analog Right |
Right Arrow |
Right analog right |
Hotkey Enable |
Right Shift |
Used for special commands (exit, save) |
Press and hold any button to skip unwanted inputs.
Method 2: Reset and Add Again
If you want to reconfigure a controller:
rm ~/.emulationstation/es_input.cfg
emulationstation
This will erase all input settings and prompt you to reconfigure.
Adding Games (ROMs)
Reference: https://retropie.org.uk/docs/Transferring-Roms/
Step 1: Download Games
Download games for specific emulators supported by RetroPi. RetroPie supports many gaming systems. ROMs must be placed in the correct folder.
You can see the directory named as:
/home/vicharak/RetroPi/roms/
Example:
NES ROMs →
/home/pi/RetroPie/roms/nes/SNES ROMs →
/home/pi/RetroPie/roms/snes/PlayStation ROMs →
/home/pi/RetroPie/roms/psx/
Step 2: Unzip the Downloaded Games and paste them into the specific ROMs Folder
Step 3: Restart EmulationStation
emulationstation --restart
The new games should now appear in the menu.
Notes
ROMs must be in supported formats (e.g., .nes, .sfc, .zip for some systems).
References
Official RetroPie Documentation: https://retropie.org.uk/docs/Debian/
Supported Systems List: https://retropie.org.uk/docs/Supported-Systems/
If you have a query, put it over here.