Raspberry Pi Camera Module
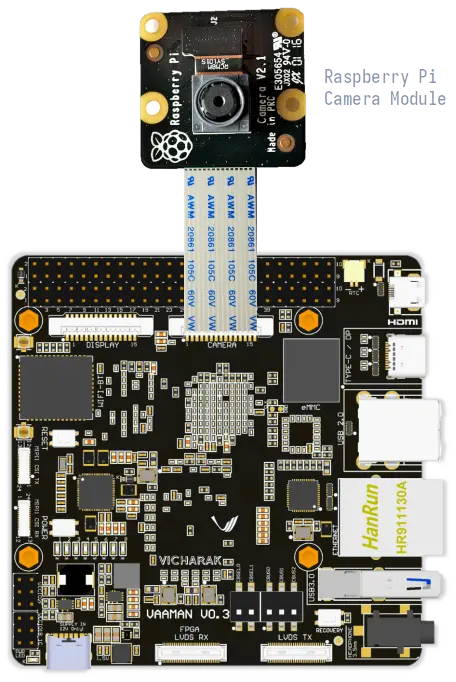
You can use the Raspberry Pi Camera Module v1 and v2 with the
Vicharak Vaaman. The raspi camera module is a small circuit board
that connects to the CSI connector on the Vaaman and allows you to take
photos and videos.
We do not build or design the camera module, but we do test it for compatibility with our Vaaman. We recommend buying the original camera module from the Raspberry Pi Foundation, or from one of our authorized resellers.
You can find more information about the camera module on the Raspberry Pi Camera documentation.
Buy the Raspberry Pi Camera Module v2.
Vaaman Camera Guide
Enable overlays options sutiable for your camera.
You can setup camera using cheese application or python source.
Note
If you do not have cheese application in your system
You can also install cheese application using command by opening terminal (Ctrl + Alt + T).
sudo apt-get update
sudo apt-get install cheese
Otherwise, you can also use python source as provided below in Setup Section.
Pre-Requisites
Camera ( OV5647 / IMX219 )
FPC50 15 Pin 1mm Pitch Cable
Enable Overlays In Vaaman / Axon
Steps to follow for Configuration
Open a terminal window(
Ctrl+Alt+T).Run command
sudo vicharak-configin it.Select
Overlaysoptions in it by pressingenterkey.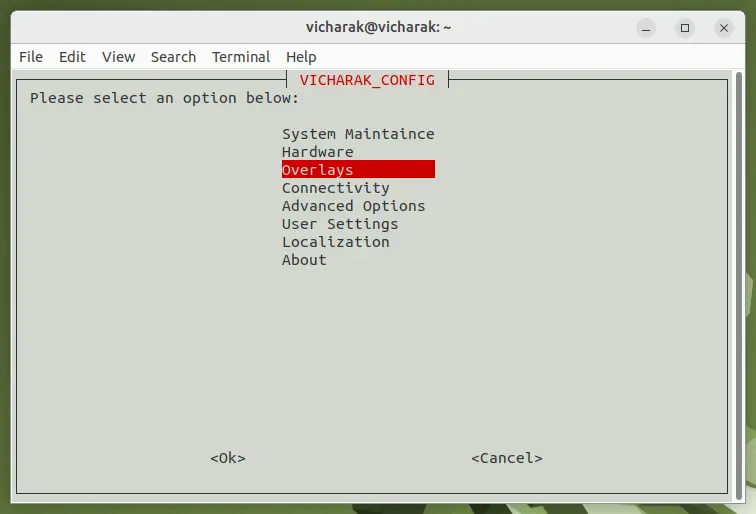
You will see Warning Page, click on
yesand selectManage Overlaysoptions.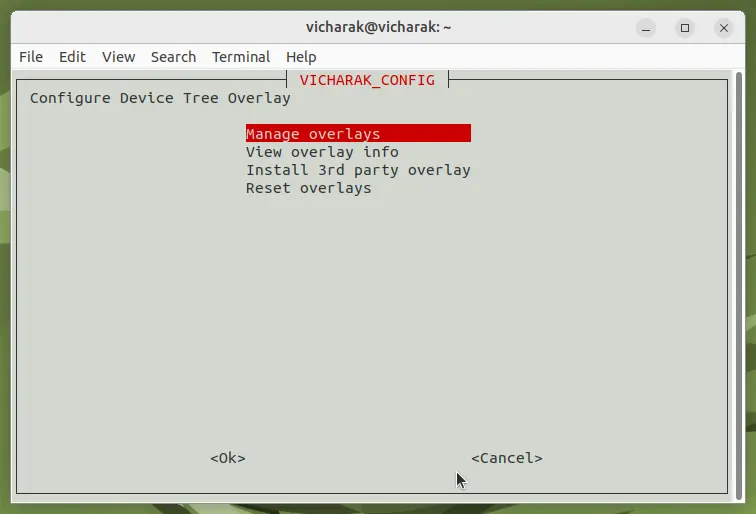
Select overlays as per your camera part number
( OV5647 / IMX219 )by pressingspacebaron keyboard, then selectOk.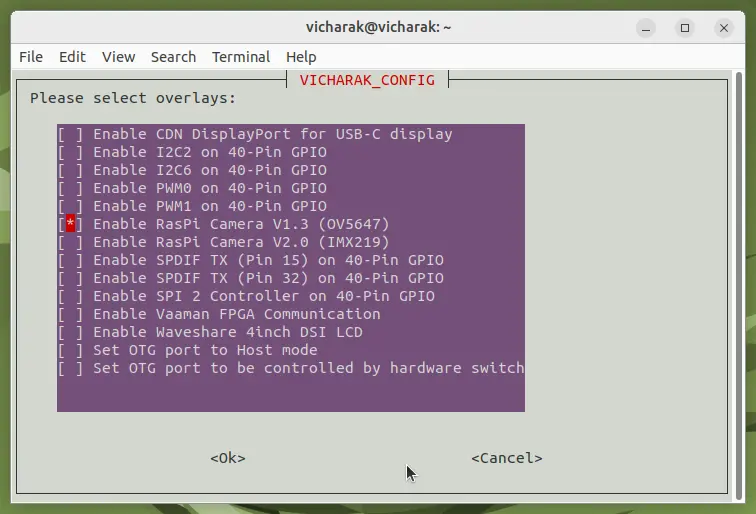
To return back to terminal, press the
Esckey until you exit from it.In order to enable your configuration, Restart your computer or Run command
sudo rebootin terminal.
Note
Make sure that whenever you are going to connect Camera, Device should be power off.
Setup
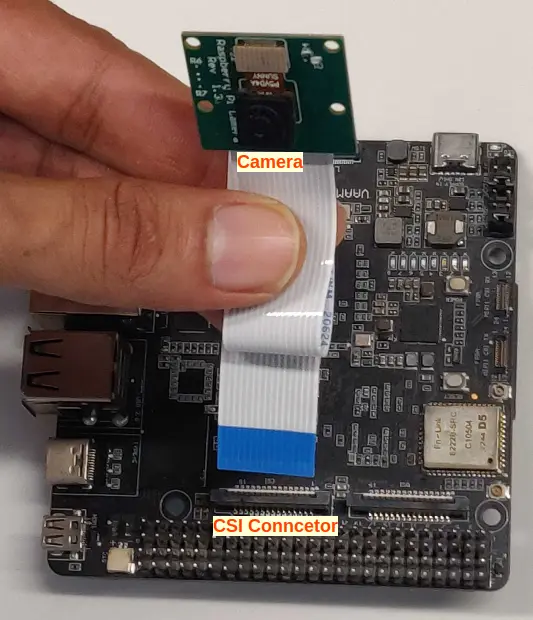
Attach the camera along with FPC50 15 Pin 1mm pitch cable to the CSI connector.
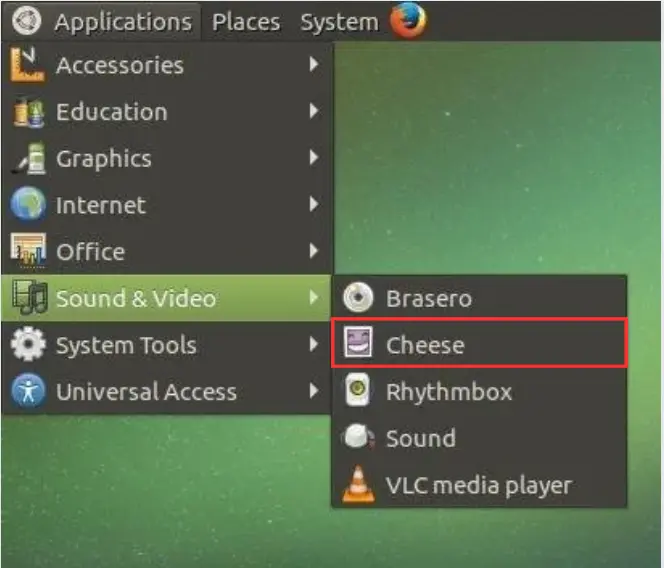
Open the Cheese application in your Ubuntu Linux operating system.
You will be shown Cheese camera interface.
You have to click on hamburger button located at top right side.
Click on
Preferencesand selectrkisp_mainpathin Device option.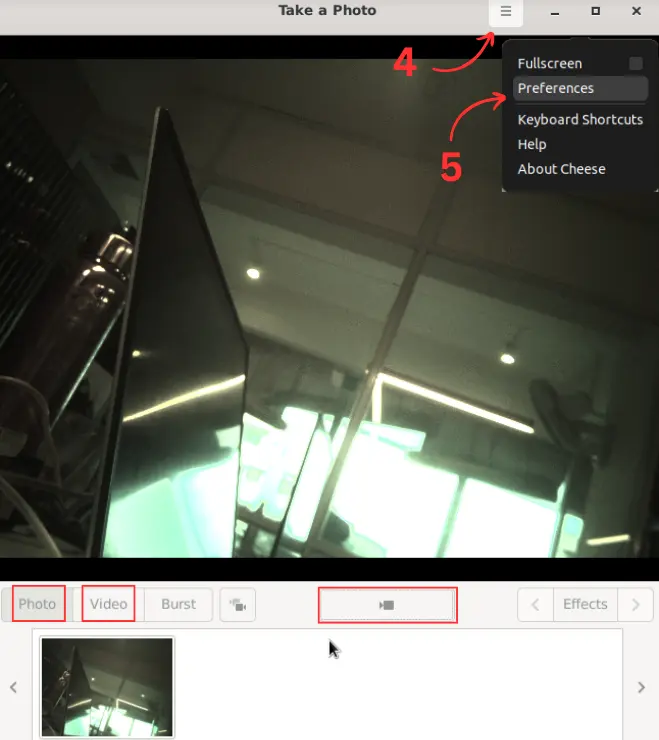

Click on a webcam button in the middle of the bottom panel, or press the
spacebarkey, to take the photo.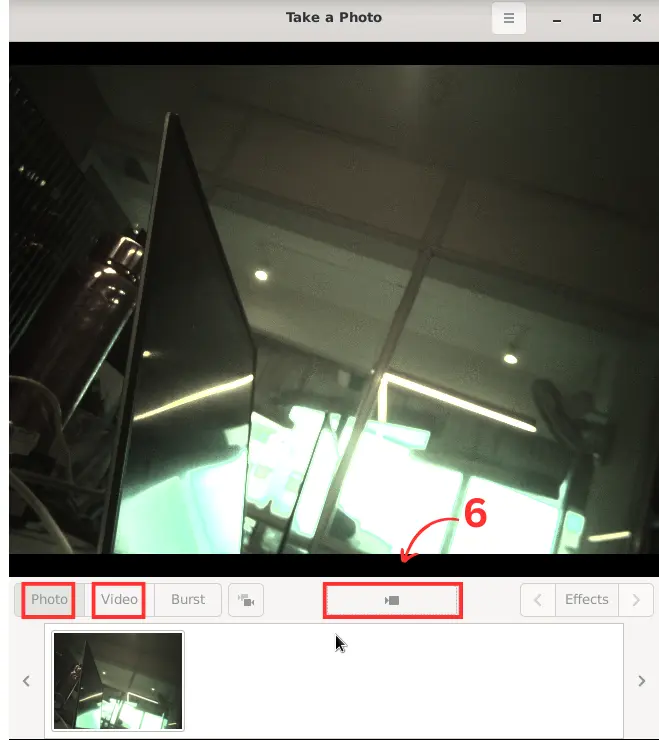
There will be a short countdown, followed by a flash, and the photo will appear in the photo stream.
You can use camera as Photo mode and Video mode as well.
Note
In case above steps do not work, Follow below steps.
Open a terminal window(
Ctrl+Alt+T).To open cheese application, Run command
sudo cheese.
Introduction
This documentation provides instructions on how to run the Python to open the camera frame and capture an image using OpenCV.
Pre-Requisites
Python3 installed on your system.
OpenCV library installed (opencv-python).
Any Text Editor Software like, Vim, gedit, nano etc.
To Install Vim:
sudo apt update
sudo apt install vim
To Install Gedit:
sudo apt update
sudo apt-get install gedit
Setup
Attach the camera along with FPC50 15 Pin 1mm pitch cable to the CSI connector.
Install Python if not already installed. You can download Python from the official website: Python Downloads.
for Debian-based systems (like Ubuntu):
sudo apt update
sudo apt install python3-pip
Install the OpenCV library using pip
for Debian-based systems (like Ubuntu):
pip install opencv-python
Execution of Program
Open a terminal window(
Ctrl+Alt+T).To create a (
.py) file in vim editor, Run commandvim <file_name>.pyin terminal.Copy this below content into the file and paste it by pressing
Ctrl + Shift + v, then pressEscand to save this file, type:wq.# !/bin/env python3 import cv2 cap = cv2.VideoCapture(0) while True: ret, frame = cap.read() cv2.imshow('frame', frame) if cv2.waitKey(1) & 0xFF == ord('q'): break # After the loop release the cap object cap.release() # Destroy all the windows cv2.destroyAllWindows()Open a terminal window(
Ctrl+Alt+T).Navigate to the directory where your Python program is located using the
cdcommand.Run Python program using the following command:
python3 <file_name>.pyIf you have multiple versions of Python installed, ensure you use
python3to run the program for Python 3.x.
Expected Behavior
Upon running the program, the camera frame will open.
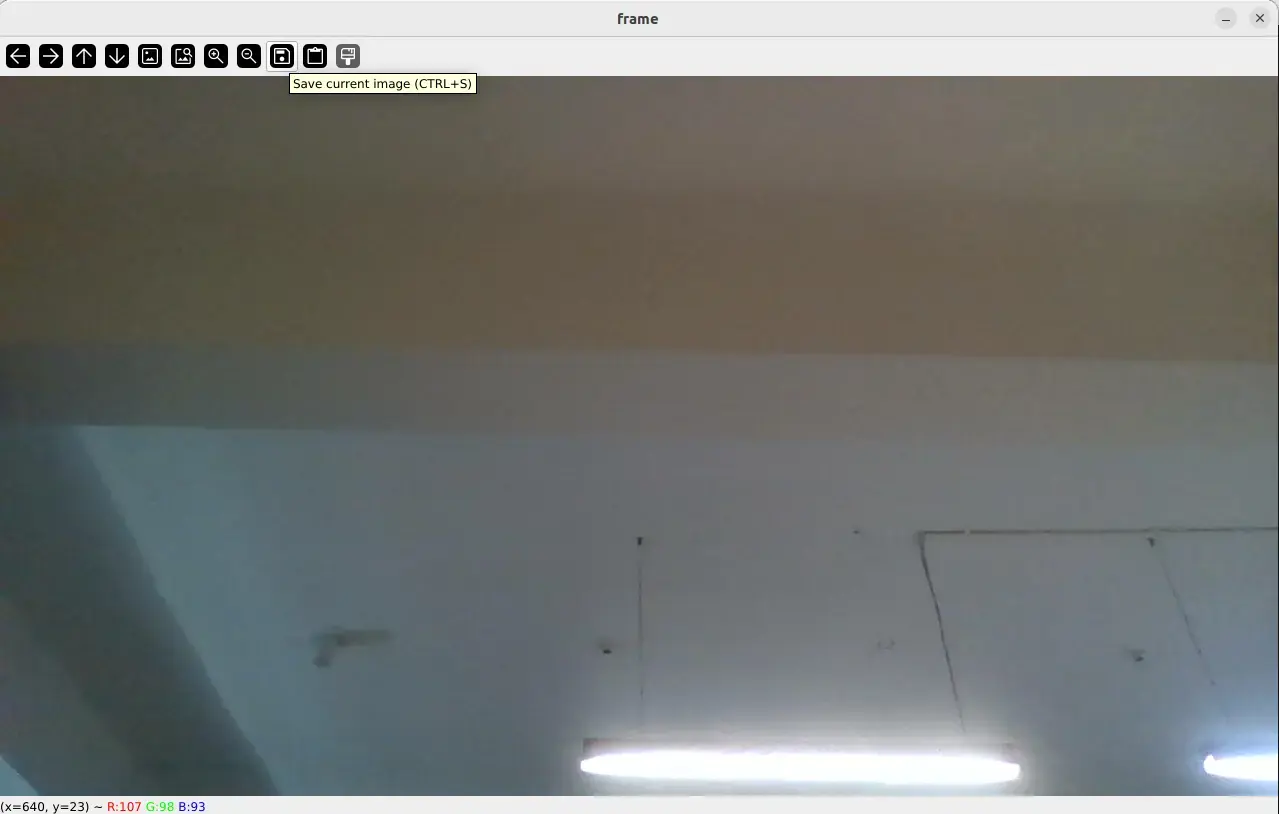
Press the
Ctrl+Skey on your keyboard to capture an image.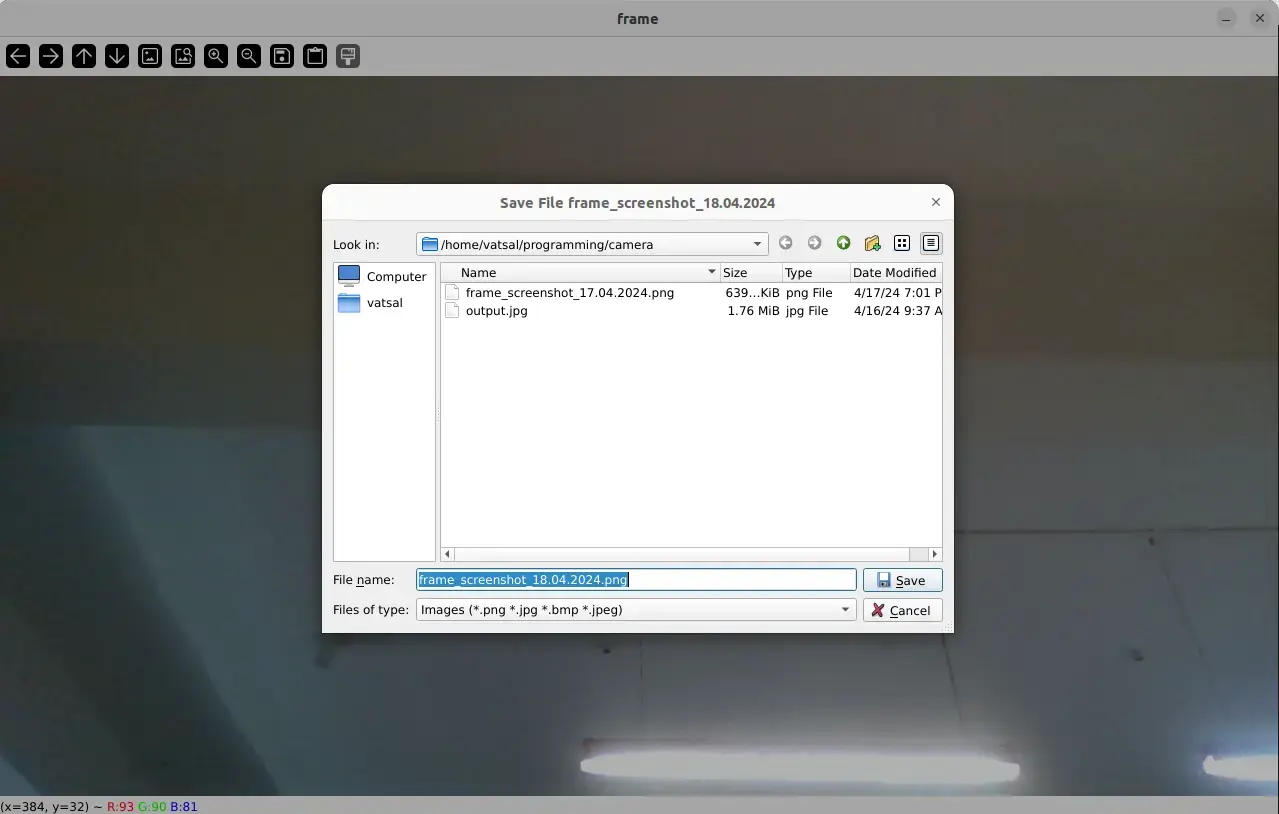
The captured image will be saved in the current directory unless the directory location has been changed.
Press the key
Qon your keyboard to exit the camera frame.
Troubleshooting
If you encounter any errors related to missing modules or libraries, ensure that Python and OpenCV are properly installed on your system.
If the camera frame does not open or the program does not behave as expected, check for any errors in the terminal output and review your program for potential issues.